  |
| The BEFORE pictures: Drafty, leaky, creaky, hard-to-open "vintage" (not sure which) front door with single-pane leaded sidelights and arched transom. Front steps with nice bluestone on tread and top, but otherwise uninspired. |
So, here goes!
Rough Opening
We love the guys at Exeter Lumber. They laugh at us AND with us -- always reassuring.
- Jamie Murphy: "OK, so you're looking for a front door. What's the rough opening?"
- Me: "Um, what are my options?"
- JM: "You know, the measurement between the studs that the door unit will fit into."
- Me: "Yeah, um, there isn't really anything structural in the wall itself. It's sort of a box."
- JM: "Right, what's the measurement between the studs?"
- Me: "There aren't really any studs. There are 2x4s that hold the current door in place."
- JM: "Right, that's the rough opening. What's the measurement?"
- Me: "Well, those 2x4s are kind of middling old and eaten and optional, so we want to keep our options open. We can peel back all the way to the posts."
- JM: "Posts... Like a timber frame?"
- Me: "Exactly. Eight-feet-on-center-ish."
- JM: "Ish?"
- Me: "Ish."
So, we established that whatever "studs" were in the wall were expendable so we were somewhat flexible as far as width. As long as we stayed between the posts, we could build a "rough opening" to support and secure the door in place. (The other guys at Exeter Lumber LOVE when I come in. And, yes, grown men do titter.)
- JM: "OK, so what height are you looking for?"
- Me: "Well, we've got about a hundred inches from the first floor to the ceiling and we're guessing the beam is in the ceiling, not below since the current arch transom goes pretty much to the tippy-top."
- JM: "The first floor. Of course your front door is on the first floor. It's a colonial, right?"
- Me: "I meant the first OF the floors. That you walk on."
- JM: "How many floors are there?"
- Me: "No idea. At least a couple. Not sure which one will be the final floor, or if we will rip some or all of them out and put in slate. Depends on what we find."
- JM: ...
- Me: "At some point under there, there's a sill timber. And the floor and the door jam will be somewhere north of there."
- JM: "OK, so 96 inches it is!"
- Me: "Did you just pull that number out of your ass?"
- JM: "Yep!"
- Me: "Perfect. Now we're talkin'."
 |
| Jamie Murphy @ Exeter Lumber ALWAYS Smiling, that one! |
We finally found and ordered a Simpson "unit" that would fit overall, and had mullions that lined up somewhat proportionally. (Why is this last item met with such incredulity by manufacturers? Yes, sir, I would like it to be symmetrical and not completely out-of-whack looking.)
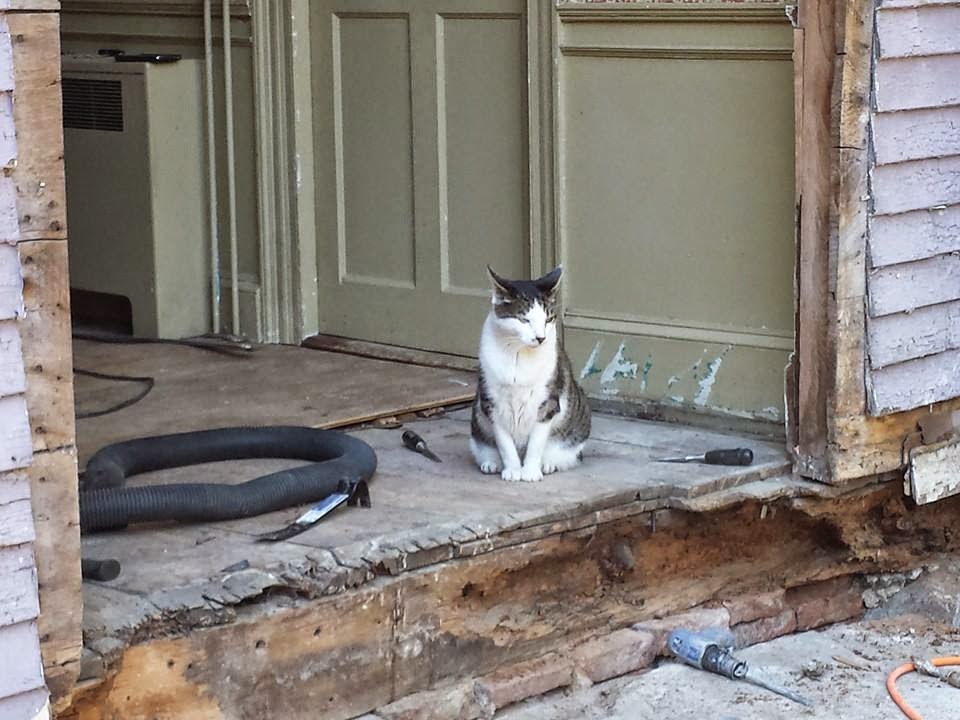
Once it arrived, I commenced to oiling and priming various parts in remote regions of TOPH, while hubby started the demolition. The steps had to come out first. They were snugged up to the house and sill in such a way that we couldn't see what we were dealing with, and suspicion was mounting about sill condition. How were we actually going to frame this thing in?
Four Discoveries
 Discovery #1: Hubby asked me one day, after he made rubble of the steps, "So, what do you want to put there instead."
I answered, without hesitation, "Just a cool slab of granite. I'm sure we could find something around here."
Four Discoveries
Discovery #1: Hubby asked me one day, after he made rubble of the steps, "So, what do you want to put there instead."I answered, without hesitation, "Just a cool slab of granite. I'm sure we could find something around here."
An hour later, hubby calls me out, "Hey, you may want to come out here. I found something."
Under the edge of the steps, he found something contiguous and solid. Granite. A week with an air chisel later... and we had a four by six front step. How cool is that??? Further digging, chipping, jack hammering, and general making-of-rubble resulted in the discovery that this slab was, at one point, used as a front step, but before that was actually a central piece of foundation that was displaced from a vertical position directly adjacent to its current resting place. They either couldn't figure a way to lift it back into place and secure it, or they just liked the step (we do too!) and filled the foundation void with brick. The brick, however, made an excellent conductor of moisture and pestilence. The sill under the door -- originally at least an 8x10 timber -- was mostly rotted or eaten away and sistered and faced with untreated lumber to support the floor and door in the hall.
Hubby did an amazing job (with ample and able phone support from family-friend Jess Dowd) of puzzling out how to fill the voids and gaps of stone and wood. And, perhaps MOST challenging was figuring out how to establish well-supported straight lines, in relation to.... whatever.


Discovery #2: Door demolition revealed a pencil notation on the part of the door's millwork "Shurbuck Job", which solved the vintage question. The Sherbucks, a family of bakers from Portsmouth, owned TOPH from 1940 up until 1951, so the last front door replacement was their project.

Discovery #4: Colonial homes were vastly overbuilt. The sheer weight of materials and the quality of hidden and ingenious joinery is staggering. So many people look at old houses and see dilapidated and broken and dirty and "old"... whatever. Houses today are NOT built like this. To attempt to meet the standard they set would be cost-prohibitive in this day and age. But, we can try to restore and repurpose and appreciate what we do find.
The sill is a bit rotten in one area? That's OK. The posts are supported adequately (plus what we can add/amend/sister/fill for good measure.) And there is more than enough "good" beam left to support a square-ish and plumb-ish frame for the front door, since that's all that is supported there.
Check out the single-piece wainscot, apparently milled from a very large tree... Take that, PVC tack-on chair rail!

Are We There Yet?
OK, so this project took a little longer than expected. And we did find some things that were at-first horrifying. But, on the whole, we found much more good than bad. (I'm not going to talk about wiring for the front and hall lights. I'm just not.)


As for "the rock"... Well, we need a piece of heavy equipment to move it into its proper forever-home under the new door. And do some "light" grading. We've decided to TRY and take out the cement boxes someone poured around the basement windows. They did that instead of fixing the grading at some point. The "boxes" reach outside the drip edge so they just catch water and funnel it into the basement (or fill up with water like aquariums if we actually put the windows in place...) It's kind of sad-comical, actually. So it's not just about "the rock"... Nothing is simple in old houses.


